Film Photography
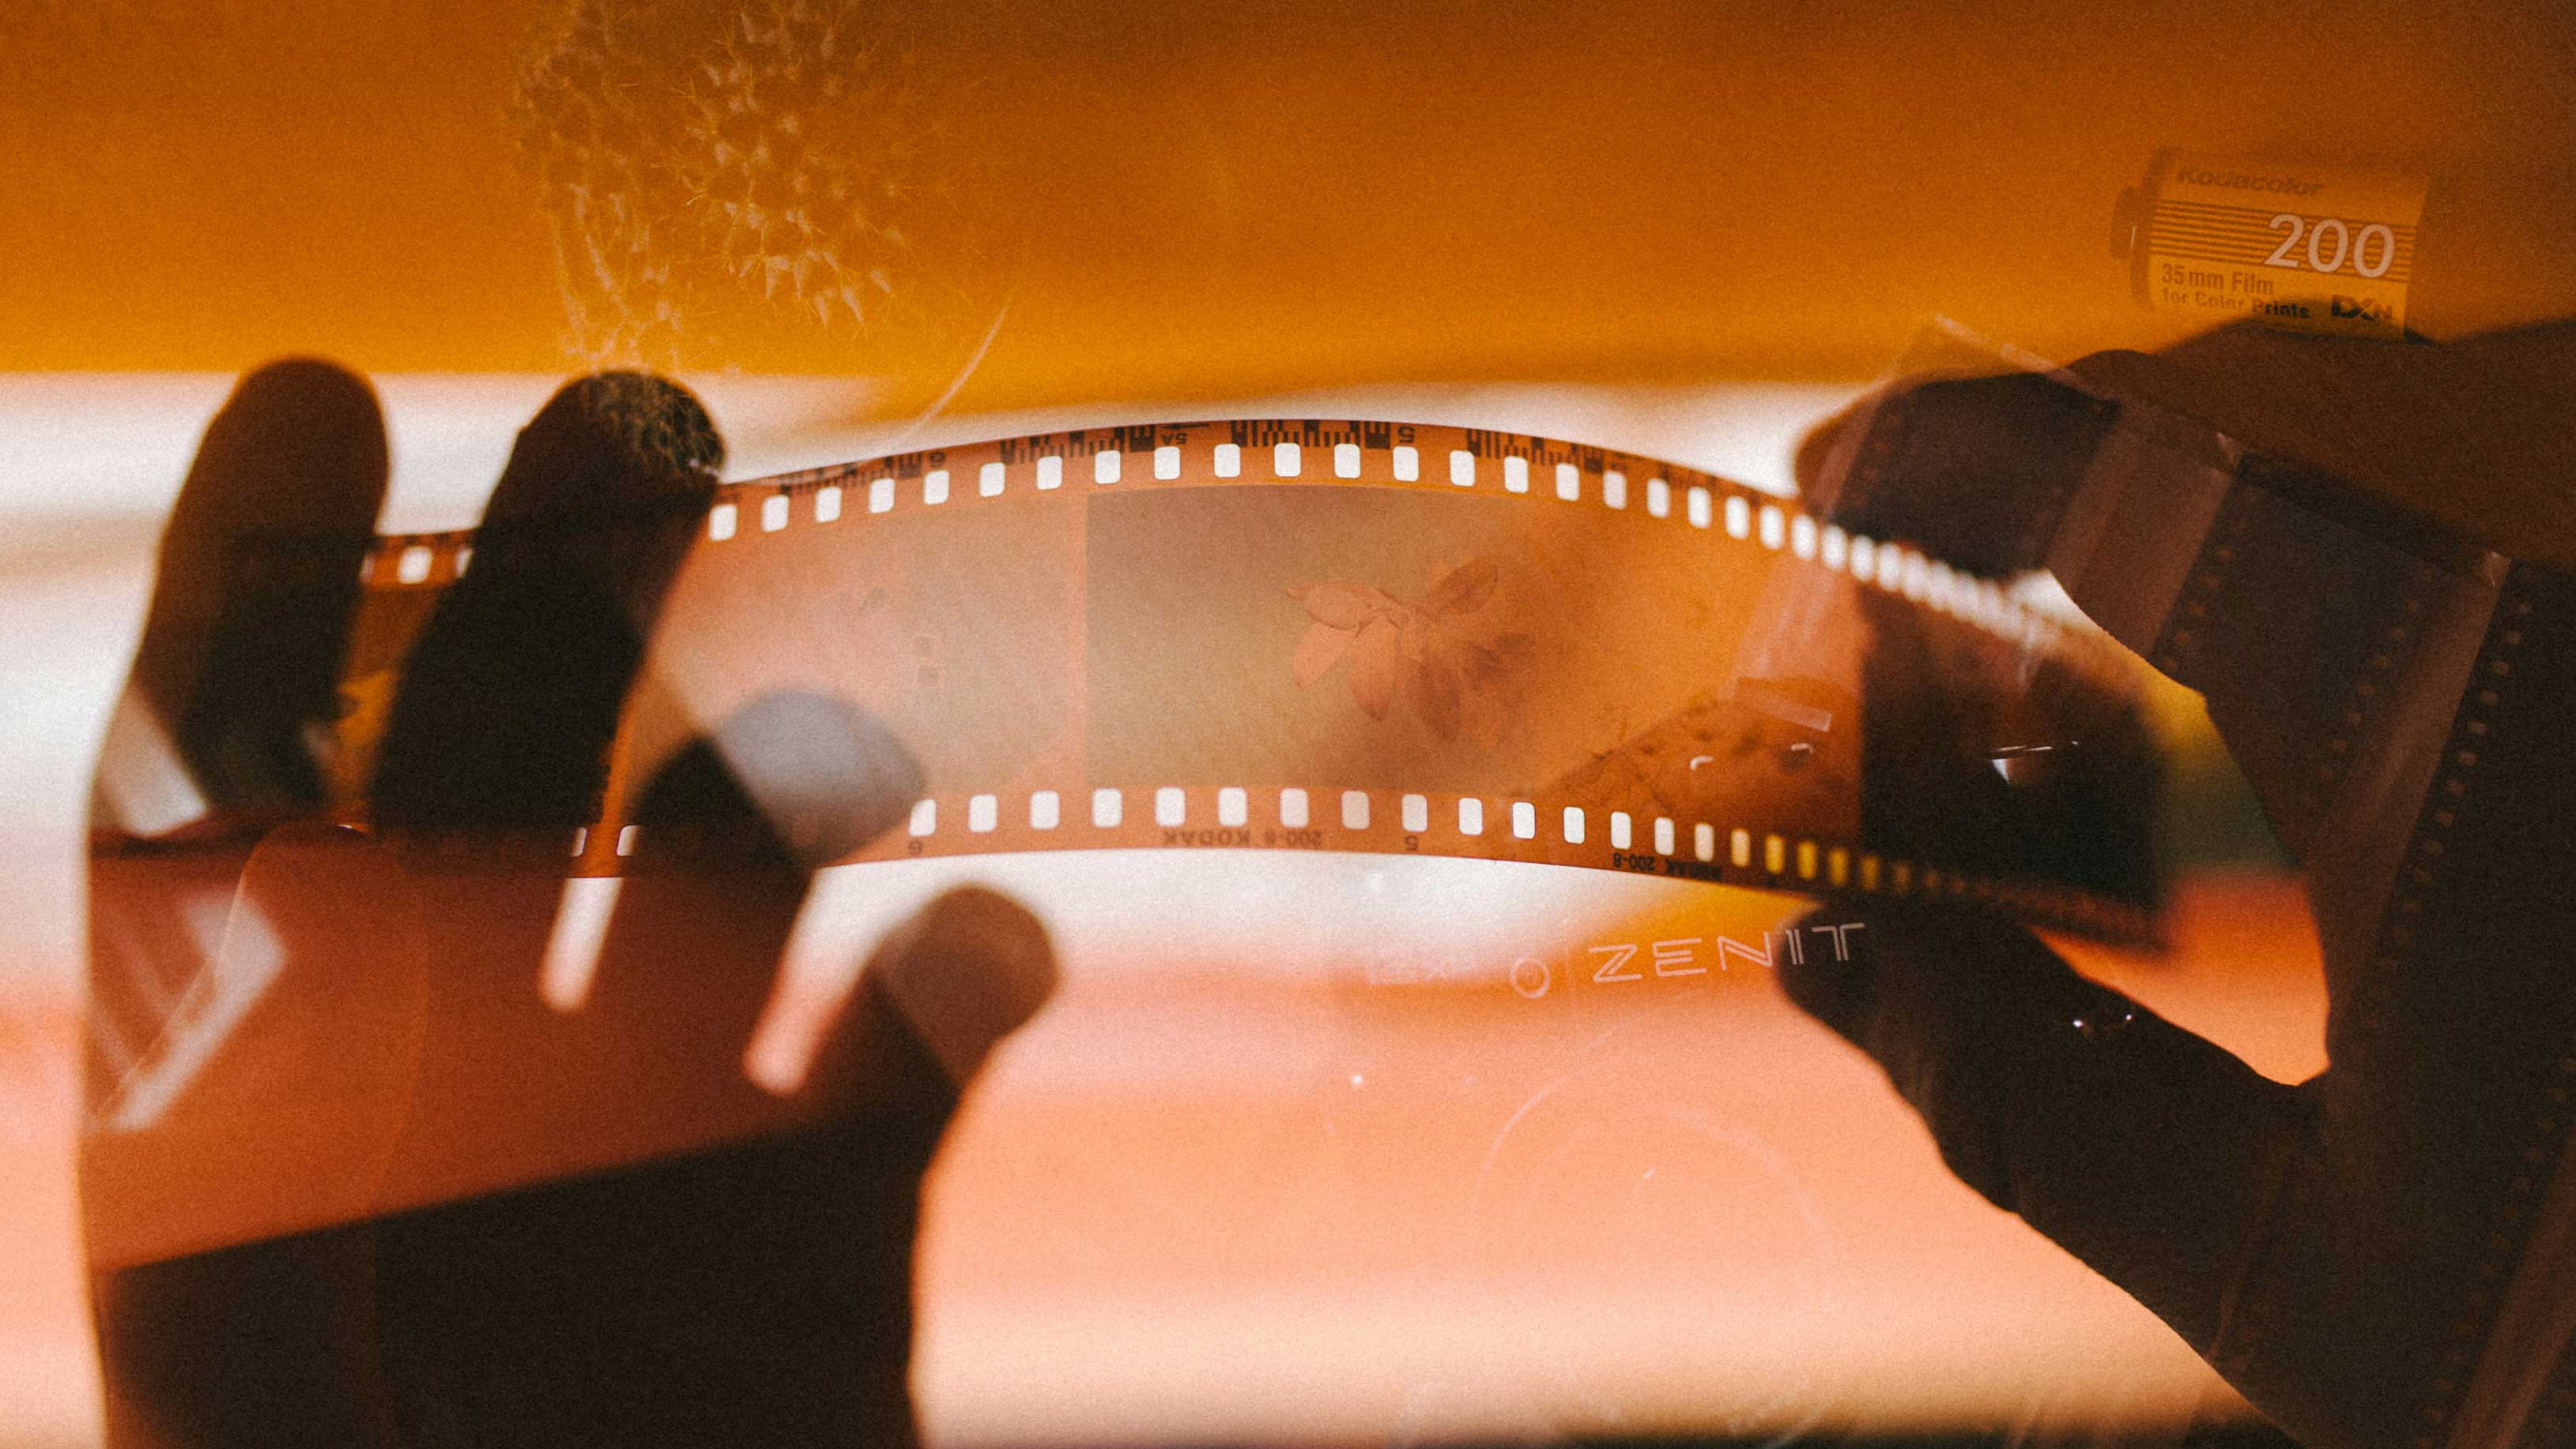
Film photography, often referred to as analog photography, is a captivating medium that allows photographers to create timeless and evocative images. The use of a film camera presents unique challenges and rewards, making it essential for photographers to master specific techniques tailored to this art form.
This blog aims to provide comprehensive guidance for photographers interested in film photography. From understanding different types of film and choosing the right one for specific artistic outcomes to mastering color film techniques and utilizing manual settings effectively, this resource will equip photographers with essential tips and insights for capturing stunning images on film.
As we delve into the nuances of film photography, we will explore various aspects such as black and white photography techniques, shooting in different lighting conditions, developing and scanning film, creating a workflow for film photography, and preserving developed film. By embracing the artistry of film photography, photographers can elevate their creative expression while capturing moments with unparalleled depth and emotion.
Photography Techniques: Mastering the intricacies of shooting on film requires a nuanced understanding of specific techniques tailored to this captivating medium.
Now let’s move on to exploring the various types of film available for photographers.
Exploring Film Options
When delving into the realm of film photography, it’s essential to explore the diverse range of film options available. Understanding the unique characteristics and effects offered by different types of film is pivotal in achieving specific artistic outcomes.
Types of Film
- Various types of film present photographers with distinct characteristics and visual effects that contribute to the overall aesthetic of their photographs. From vibrant color renditions to rich tonal ranges, each type of film offers a unique palette for creative expression.
- Exploring the nuances of different film types allows photographers to harness specific qualities that align with their artistic vision and photographic style.
Choosing the Right Film
- Selecting the appropriate film is a crucial decision that significantly influences the mood, atmosphere, and visual impact of photographs. Factors such as ISO, color rendition, and grain play a pivotal role in determining which type of film best suits the intended artistic expression.
- By carefully considering these factors, photographers can ensure that they capture images that authentically reflect their creative vision while leveraging the inherent qualities of each type of film.
Mastering Color Film
Color Film Techniques
When delving into the realm of color film photography, mastering specific techniques is essential for capturing vibrant and visually compelling images. Understanding the principles of color theory and composition forms the foundation for achieving stunning results with color film.
- Color Theory: Developing a deep understanding of how colors interact and complement each other is fundamental in color film photography. It involves comprehending the emotional impact of different colors and their ability to convey specific moods or narratives within an image.
- Color Balancing: Achieving accurate color balance in photographs is crucial for ensuring that colors appear true to life. This technique involves adjusting the colors in a photograph to achieve a natural and harmonious appearance, enhancing the overall visual impact.
- Filter Usage: Utilizing filters can significantly enhance the visual appeal of color film photography. Filters allow photographers to manipulate and control the intensity of certain colors, as well as manage contrast levels, resulting in more dynamic and captivating images.
Creative Applications of Color Film
The creative potential of color film photography is vast, offering photographers a myriad of opportunities to express emotions and narratives through vibrant visuals.
- Exploring Color Palettes: Delving into different color palettes enables photographers to evoke specific emotions or atmospheres within their images. From warm, earthy tones to cool, serene hues, each palette conveys distinct feelings that contribute to the overall storytelling aspect of the photograph.
- Tonal Range Exploration: Understanding and experimenting with tonal ranges allows photographers to create depth and dimension within their images. By strategically utilizing light and shadow to emphasize different tonal values, photographers can add complexity and visual interest to their compositions.
Incorporating these techniques into one’s repertoire empowers photographers to masterfully capture striking images that resonate with viewers on both an emotional and aesthetic level.
Understanding Film Stocks
When delving into the realm of film photography, understanding the nuances of different film stocks is pivotal for achieving desired aesthetic qualities in photographs. Each type of film stock possesses distinct characteristics that contribute to the overall look and feel of the images captured.
Types of Film Stocks
- Grain, Contrast, and Sensitivity: Different film stocks exhibit varying levels of grain, contrast, and sensitivity to light. Some stocks may produce fine grain with high contrast, while others offer a smoother tonal range with lower contrast. Understanding these attributes enables photographers to select the most suitable film stock for their intended creative expression.
- Black and White vs. Color Film Stocks: The choice between black and white or color film stocks significantly impacts the visual narrative of photographs. Black and white film stocks emphasize texture, contrast, and tonal range, whereas color stocks introduce vibrant hues and diverse palettes into the imagery.
Utilizing Film Stocks Effectively
- Leveraging Strengths and Weaknesses: Each film stock has specific strengths and weaknesses that can be harnessed for creative expression. For instance, a high-grain film stock might be ideal for capturing gritty urban scenes with raw intensity, while a low-grain stock could be better suited for producing smooth portraits with subtle tonal transitions.
- Matching Film Stock to Subject and Lighting: Selecting the right film stock based on the subject matter and lighting conditions is crucial for achieving optimal results. Certain stocks may excel in capturing vivid landscapes under natural sunlight, while others might be better suited for portraying moody indoor scenes with controlled artificial lighting.
In mastering the utilization of various film stocks, photographers can expand their creative repertoire by harnessing the unique visual characteristics offered by each type of stock.
Black and White Photography
Artistic Vision in Monochrome
Black and white photography holds a timeless allure, offering a captivating aesthetic that transcends the realm of color. Embracing the artistic vision for monochrome photography entails delving into the fundamental elements that define its emotive and evocative nature.
In the realm of black and white film photography, the absence of color allows photographers to focus on essential elements such as contrast, texture, and tonal range. This shift in focus enables them to craft images that convey depth, emotion, and visual impact with striking simplicity.
The artistic vision for monochrome photography involves a keen understanding of how light interacts with the subjects and shapes within the frame. By harnessing the interplay between light and shadow, photographers can create compelling compositions that evoke a sense of timelessness and narrative depth. This mastery of light enables them to sculpt their artistic vision into powerful visual stories that resonate with viewers on an emotional level.
Developing an eye for monochrome imagery also involves recognizing how different textures manifest in black and white photographs. From the rough texture of weathered surfaces to the softness of delicate fabrics, each texture plays a crucial role in shaping the overall mood and atmosphere of an image. Understanding how textures interact with light empowers photographers to capture nuanced details and subtle nuances that enrich their artistic expression.
Mastering the artistry of black and white photography requires honing a distinct perspective that appreciates tonal range as a primary vehicle for visual storytelling. By skillfully manipulating tonal values, photographers can convey emotions, narratives, and atmospheres with remarkable clarity. This emphasis on tonal range cultivates a profound appreciation for shades of gray, enabling photographers to craft images that speak volumes through their nuanced contrasts.
Techniques for Black and White Film
Crafting impactful black and white images demands a unique approach to utilizing lighting and composition effectively. In this medium, every element within the frame plays a pivotal role in conveying the photographer’s intended message or story.
Utilizing lighting techniques tailored specifically to black and white film is essential for capturing images with depth and resonance. Understanding how various lighting conditions influence contrast, highlights, and shadows empowers photographers to manipulate these elements deliberately. This deliberate manipulation allows them to create visually compelling compositions that draw viewers into immersive visual narratives.
The interplay between light and shadow is at the heart of mastering black and white film photography techniques. By carefully considering how these elements interact within a scene, photographers can sculpt dramatic contrasts that infuse their images with captivating dynamism. This intentional use of light and shadow elevates compositions by adding layers of intrigue while emphasizing essential details within each frame.
Shooting in Different Lighting
Natural Light Photography
When it comes to film photography, harnessing the power of natural light is paramount in creating captivating and evocative images. The interplay between natural light and film presents a myriad of opportunities for photographers to craft visually stunning compositions that resonate with depth and emotion.
Utilizing natural light effectively can enhance the mood and atmosphere of film photographs, infusing them with a sense of authenticity and organic beauty. Whether capturing landscapes, portraits, or candid moments, understanding the characteristics of natural light and its impact on film is essential for successful outdoor photography.
Photographers must be attuned to the ever-changing qualities of natural light, from the soft, diffused glow during golden hour to the stark contrasts cast by midday sun. Each lighting condition offers a unique canvas for artistic expression, allowing photographers to evoke specific moods and narratives within their images.
Mastering the art of natural light photography involves an acute awareness of how different times of day, weather conditions, and geographical locations influence the visual dynamics of a scene. By embracing these nuances, photographers can harness the inherent beauty of natural light to create timeless images that resonate with authenticity and emotional resonance.
The Sunny 16 Rule
The Sunny 16 Rule is a method to estimate the correct exposure during daylight without the need for electronic metering. It’s based on the assumption that on a sunny day, the correct exposure for an object in direct sunlight can be achieved by setting the aperture to f/16 and the shutter speed to the reciprocal of the ISO setting of the camera.
How It Works:
- Set your aperture to f/16: On a bright and sunny day, start by setting your camera’s aperture to f/16.
- Adjust your shutter speed: Match your shutter speed to the inverse of your ISO setting. For example, if your ISO is set to 100, your shutter speed should be 1/100th of a second.
- Adjust for different conditions: If the day is not perfectly sunny, you can adjust the aperture according to the lighting conditions. Here are some general guidelines:
- Slightly Overcast: Use f/11.
- Overcast: Switch to f/8.
- Heavy Overcast: Move to f/5.6.
- Sunset or Sunrise: f/4 can capture the lower light levels.
Metering for Light with Your Eyes
Metering light without a device might seem daunting, but with practice, you can learn to estimate lighting conditions accurately. Here’s how to start:
- Learn the Basics of Light Levels: Familiarize yourself with the look and feel of different light levels. Pay attention to how direct sunlight, shade, overcast, and indoor lighting look to your eyes.
- Use the Sunny 16 Rule as a Starting Point: Apply the Sunny 16 Rule to get an initial setting, which you can then adjust based on your observation of the light.
- Practice Estimating Exposure: Look at your surroundings and estimate the light level. Adjust your camera settings based on your assessment and take a test shot. Review the photo’s exposure and adjust your settings as needed.
- Understand Shadows: The depth and contrast of shadows can give you a clue about light intensity. Hard, deep shadows suggest bright sunlight (f/16), while soft, shallow shadows indicate overcast conditions (f/8 or f/5.6).
- Adjust for Subject and Background: Consider the brightness of your subject and background. A subject in shade against a sunny background might require you to open up the aperture more than the rule suggests.
Practice Makes Perfect
The key to mastering both the Sunny 16 Rule and metering light with your eyes is practice. Start by using these methods in different lighting conditions to get a feel for how light affects exposure. Over time, you’ll develop an intuitive sense for adjusting your camera settings to match the environment, allowing you to capture beautifully exposed photos under a variety of lighting conditions.
Artificial Lighting Techniques
While natural light photography holds its own allure, mastering artificial lighting techniques expands the creative possibilities for film photography. Whether shooting in controlled studio environments or manipulating light in outdoor settings, understanding how to wield artificial lighting tools empowers photographers to shape their artistic vision with precision.
Using tools such as reflectors and diffusers allows photographers to control and shape light to achieve desired effects. Reflectors bounce natural or artificial light onto subjects, effectively filling in shadows and adding a touch of warmth or brightness to the scene. On the other hand, diffusers soften harsh light sources by scattering and dispersing their intensity, resulting in a more gentle and flattering illumination.
By skillfully integrating artificial lighting techniques into their repertoire, photographers can craft compelling images that transcend traditional boundaries. The ability to manipulate light opens doors to endless creative possibilities while allowing photographers to sculpt scenes with nuanced drama or delicate subtlety.
Incorporating both natural and artificial lighting techniques into their practice equips photographers with a diverse set of tools for capturing moments in ways that are both visually striking and emotionally resonant.

Manual Settings and Techniques
Understanding Manual Controls
When delving into the realm of film photography, understanding and mastering manual controls on analog cameras is pivotal for achieving precise control over exposure and focus. This hands-on approach to photography empowers photographers to craft images with a level of precision and intentionality that is distinct to the analog medium.
Mastering manual settings involves gaining a comprehensive understanding of essential elements such as aperture, shutter speed, and ISO settings. Each of these factors plays a crucial role in determining the exposure and overall look of the final image.
- Aperture: Understanding how aperture impacts depth of field and the amount of light entering the camera lens is fundamental in controlling the visual aesthetics of a photograph. By adjusting the aperture, photographers can create images with varying degrees of background blur or sharpness, adding an artistic dimension to their compositions.
- Shutter Speed: Mastery over shutter speed allows photographers to freeze fast-moving subjects or capture motion blur with precision. This control over time within an image enables photographers to convey dynamic energy or serene stillness according to their creative vision.
- ISO Settings: The sensitivity of the film to light, as determined by ISO settings, significantly influences the overall exposure and grain structure of photographs. Understanding how different ISO values affect image quality empowers photographers to make informed decisions based on lighting conditions and desired aesthetic outcomes.
Advanced Techniques
Exploring advanced manual techniques opens doors to a world of creative possibilities and technical mastery in film photography. These techniques allow photographers to push the boundaries of traditional image-making while producing unique and visually compelling images that captivate viewers.
- Long Exposures: Leveraging long exposures introduces an element of time into photographs, resulting in ethereal and surreal imagery. By prolonging the duration of an exposure, photographers can capture mesmerizing light trails, smooth out flowing water bodies, or create dramatic starry nightscapes with breathtaking results.
- Multiple Exposures: Embracing multiple exposures enables photographers to overlay different scenes or subjects onto a single frame. This technique encourages experimentation with layering visual narratives within a single photograph, offering a captivating fusion of storytelling and artistic expression.
By delving into these advanced manual techniques, photographers can expand their creative horizons while honing their technical skills in analog photography.
Developing and Scanning Film
Film Development Process
The film development process is a critical step in realizing the full potential of film negatives in analog photography. It involves a series of precise and consistent procedures, coupled with an understanding of chemical reactions, to bring out the inherent qualities captured on the film.
Developing film demands meticulous attention to detail and an adherence to specific time and temperature requirements. The process begins with carefully loading the exposed film into a light-sealed developing tank, ensuring that it is shielded from any light exposure. Subsequently, a sequence of chemical solutions is used to develop, stop, fix, and wash the film, each serving a distinct purpose in bringing out the latent image.
Precision timing during each stage of development is essential for achieving optimal results. Over or underdeveloping the film can significantly impact its tonal range and contrast, potentially altering the intended visual narrative captured by the photographer. Therefore, maintaining consistency in processing times is crucial for preserving the nuances and details present in the original images.
Understanding the chemical reactions involved in film development is fundamental for photographers aiming to master this aspect of analog photography. Each solution interacts with the emulsion on the film to reveal and stabilize the latent image, culminating in a negative that faithfully represents the captured scene.
There are a lot of labs that develop and scan your film if you don’t have the space or want to develop your own film. I have used Indie Film Lab before and loved the results.
Learn how to develop color film at home!
Scanning and Digital Conversion
Converting developed film images into digital formats opens up a world of possibilities for sharing, editing, and archiving photographs. Choosing the right scanning techniques and equipment is paramount for preserving the quality and intricate details present in analog photographs.
High-resolution flatbed scanners equipped with transparency adapters are commonly used for scanning developed film negatives. These scanners offer precise control over resolution settings and color depth, allowing photographers to capture fine details while retaining accurate color renditions from their original negatives. I recommend the Epson V600 for new film photographers.
Additionally, dedicated film scanners provide specialized capabilities tailored specifically for digitizing analog photographs. These scanners offer advanced features such as Digital ICE technology for dust and scratch removal along with enhanced dynamic range capabilities that ensure faithful reproduction of tonal values present in negatives. Check out Opticfilm 8100 for 35mm scanning & the Opticfilm 120 Pro for Medium format scanning.
The digital conversion process also involves post-scanning adjustments to optimize color balance, contrast levels, and sharpness while maintaining fidelity to the original images. This attention to detail ensures that scanned photographs accurately reflect their analog counterparts while offering greater flexibility for sharing across digital platforms or engaging in post-processing workflows.
Creating a Film Photography Workflow
Organizing and Cataloging
When venturing into the realm of film photography, establishing an efficient workflow for organizing and cataloging film photographs is paramount for effective management. The process of handling analog images requires a meticulous approach to ensure that each photograph is properly documented and archived.
Utilizing specialized tools and software designed for metadata and keyword tagging can streamline the workflow process, allowing photographers to efficiently categorize their images based on various criteria. By implementing a systematic approach to organization, photographers can easily access specific images for review, editing, or sharing while maintaining a comprehensive archive of their work.
The use of metadata plays a crucial role in cataloging film photographs, enabling photographers to embed essential information such as date, location, exposure settings, and camera details directly into the image files. This practice not only facilitates easy retrieval of images but also provides valuable insights into the technical aspects of each photograph.
Furthermore, keyword tagging offers a methodical way to label photographs based on thematic elements, visual characteristics, or subject matter. This approach allows photographers to create a searchable database of their work, making it effortless to locate specific images within their extensive collection.
By integrating these organizational tools into their workflow, photographers can effectively manage their film photography endeavors with precision and efficiency while ensuring that every image is appropriately cataloged for future reference.
Post-Processing and Editing
Post-processing techniques play a pivotal role in enhancing and refining the visual impact of film photographs. While capturing images on film preserves an inherent authenticity, post-processing allows photographers to fine-tune their artistic expression by optimizing various elements within the images.
Understanding digital editing tools and techniques is fundamental for achieving the desired artistic expression in film photography. Whether adjusting contrast levels to enhance tonal range or fine-tuning color balance for accurate rendition, digital editing empowers photographers to elevate their analog captures with nuanced enhancements.
Moreover, post-processing enables photographers to address imperfections or blemishes present in scanned film negatives while preserving the integrity of the original image. Techniques such as dust spot removal and scratch repair contribute to presenting photographs in their best possible form without compromising their authenticity.
Additionally, creative adjustments such as selective sharpening or subtle vignetting can be applied during post-processing to emphasize specific focal points within an image or enhance its overall visual impact. These refinements enable photographers to imbue their analog captures with a contemporary aesthetic while honoring the timeless allure of film photography.
By mastering post-processing techniques tailored to film photography, photographers can seamlessly integrate analog and digital workflows while producing captivating imagery that resonates with depth and artistry.
Preserving Developed Film
Storage and Preservation
Preserving developed film is essential to safeguard the integrity and longevity of analog photography. Proper storage and preservation methods play a crucial role in protecting delicate film negatives and prints, ensuring that they remain intact for years to come.
- Archival Materials: Utilizing archival materials such as acid-free sleeves, photo storage boxes, and protective enclosures shields developed film from environmental elements that could potentially degrade its quality. These specialized materials are designed to prevent deterioration, including discoloration, fading, or physical damage, thereby prolonging the lifespan of film photographs.
- Storage Conditions: Maintaining consistent temperature and humidity levels within storage spaces is paramount for preserving developed film. Ideally, storing film in a cool, dry environment devoid of direct sunlight prevents premature aging and degradation. Additionally, ensuring proper ventilation and protection from moisture mitigates the risk of mold or mildew affecting the stored photographs.
By adhering to best practices in storage and preservation, photographers can safeguard their cherished analog images while retaining their original visual appeal. If you don’t have a place to store your negatives, you can have your negatives archived and stored with FilmHound.
Display and Presentation
The art of presenting and displaying film photographs involves careful consideration of framing, mounting, and exhibition formats. Implementing these best practices ensures that the visual impact of analog photography is preserved while enhancing its longevity.
Framing: When framing developed film photographs for display, it’s crucial to use archival-quality framing materials that provide adequate protection against environmental factors. UV-resistant glass or acrylic shields protect prints from harmful ultraviolet rays that can cause fading over time.
Mounting: Mounting film photographs on acid-free backing boards using archival hinges or corners maintains their structural integrity while preventing potential damage caused by adhesives. This meticulous approach to mounting ensures that the photographs remain unaltered by any mounting processes.
Exhibition Formats: Whether showcasing analog photography in galleries or personal exhibitions, selecting appropriate exhibition formats plays a pivotal role in capturing viewers’ attention while preserving the visual allure of the displayed images. Employing museum-quality display techniques enhances the professionalism of exhibitions while safeguarding the aesthetic integrity of each photograph.
By embracing these meticulous standards for display and presentation, photographers can ensure that their developed film photographs captivate viewers with enduring beauty while maintaining their original artistic essence.
Film Photography
Mastering the art of film photography encompasses a profound understanding of diverse film options, nuanced techniques, and meticulous workflow processes. The insights shared in this comprehensive guide aim to equip photographers with the essential knowledge and skills needed to excel in the captivating realm of analog photography.
By embracing the timeless allure of film photography, photographers can skillfully capture and preserve moments with unparalleled artistry and creativity. The tactile nature of film, coupled with its ability to convey depth and emotion, offers a unique medium for visual storytelling that resonates with authenticity.
As photographers delve into the intricate nuances of film photography, they embark on a journey that celebrates the enduring charm of analog imagery. From harnessing natural light to mastering manual controls and delving into post-processing workflows, each facet contributes to an immersive experience that transcends mere technical proficiency.
Ultimately, mastering film photography is an ongoing exploration—an artistic endeavor that invites photographers to continually refine their craft while capturing moments imbued with timeless elegance and evocative beauty.
Analog Photography: “Embracing the tactile nature of analog photography allows for a deeply immersive creative process—one that celebrates the enduring allure of capturing moments through the lens of a film camera.”